4th Grade Mission Extra Credit: Due Thursday, May 11th at 8 AM
Students may create an extra credit project.
Extra Credit (+1/2 letter grade): Students may choose ONE project: a mission video filmed at the mission, a mission model, or a California History model/diorama. DO NOT start the extra credit project until your mission report is 75% finished! ("No dessert until you finish your dinner!")
Extra Credit Choices
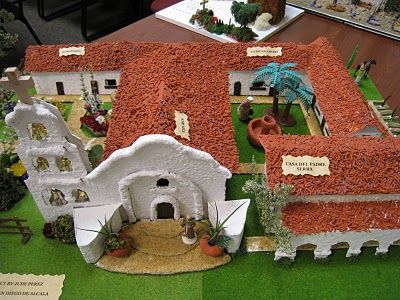
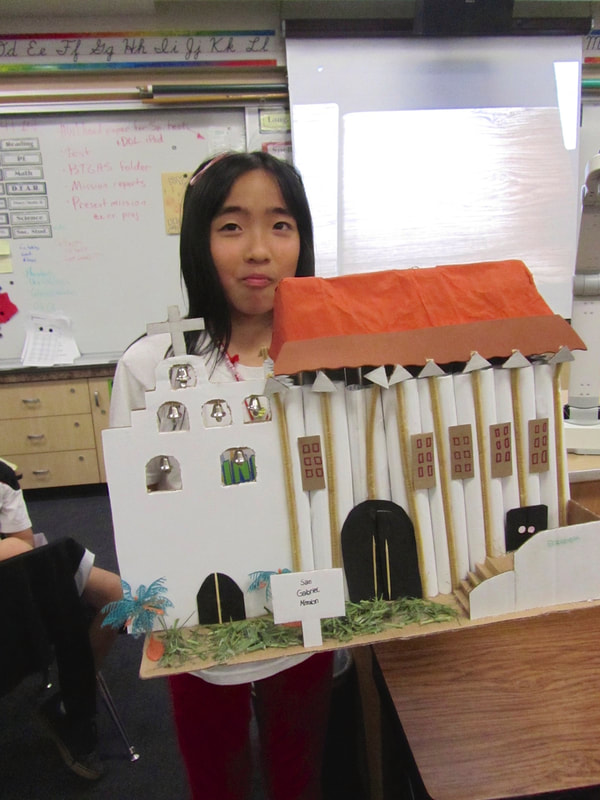
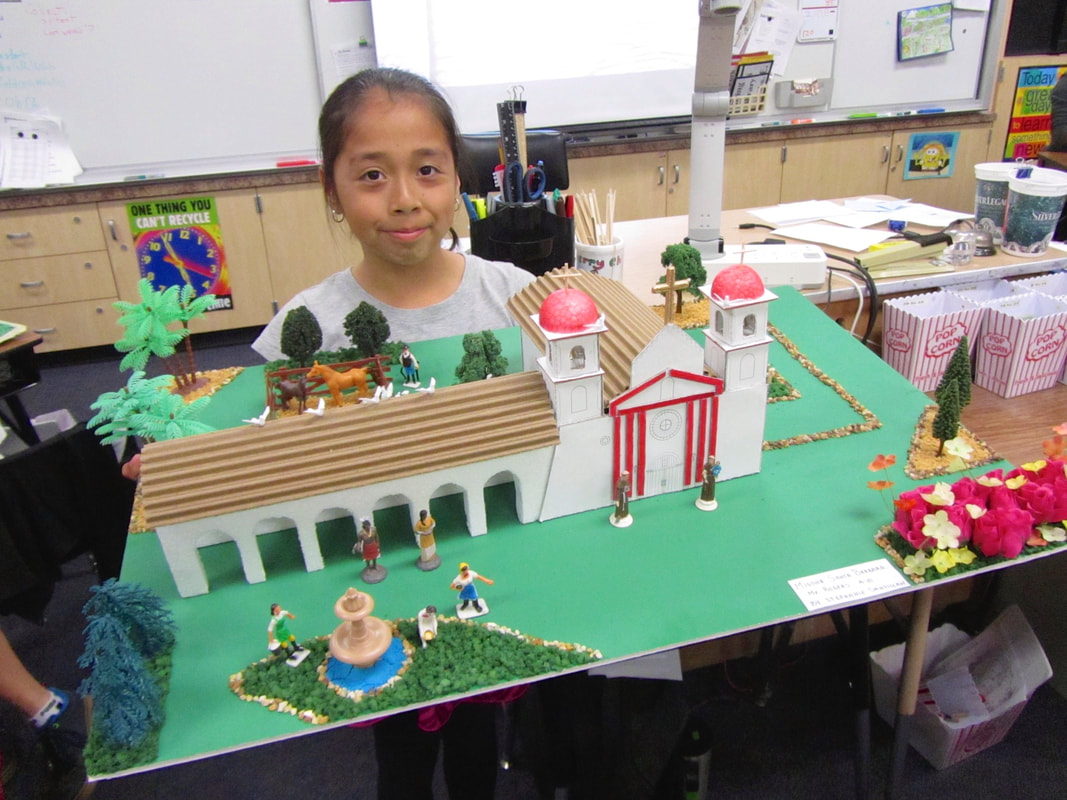
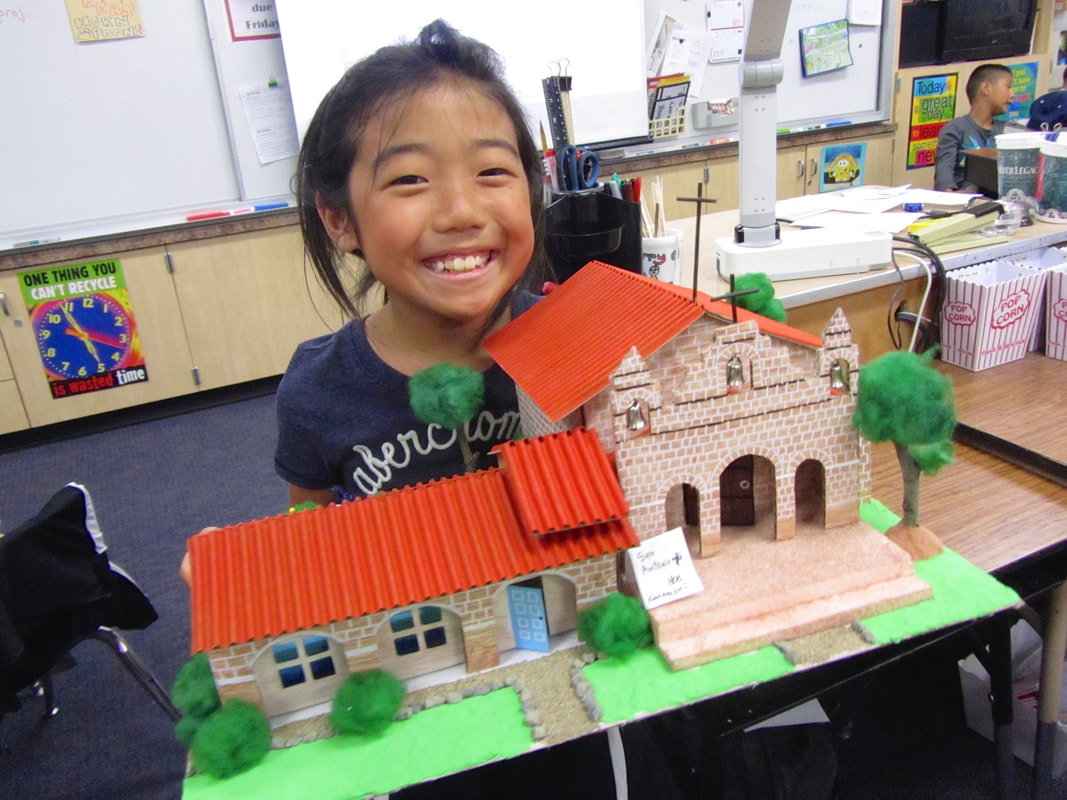
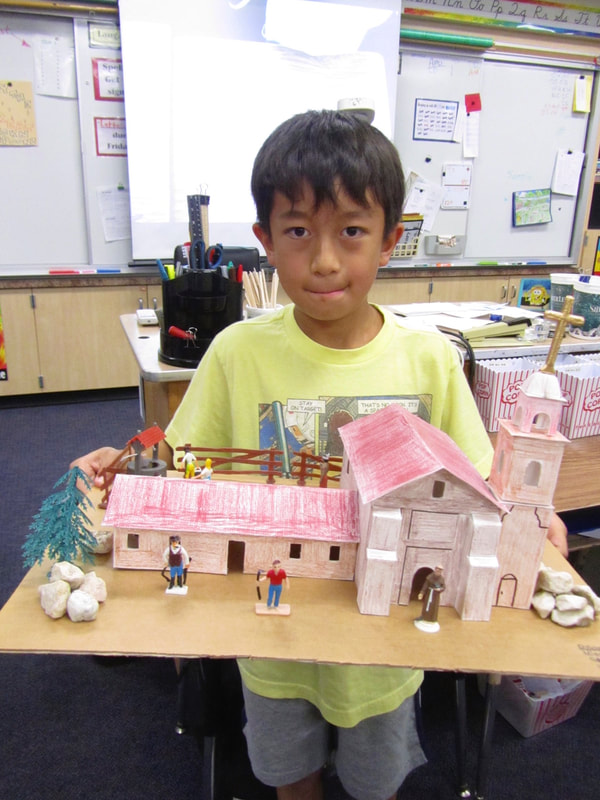
A Mission Video
Students may create a video of the California mission they visited.
Format: Videos should be in an MP4 or .mov format. There are websites where formats can be converted if needed. The video may be posted online, posted through Google Drive, or turned in on a flash drive.
Content: Students have already researched the history of the mission. You may videotape your child pointing out and describing features around the mission, or discussing them as (s)he walks around the high points. (S)he can also videotape and record voiceover after the video's done.
Inspiration: To get an idea on what a quality video looks like, browse through Evva's video. Obviously Dad had some editing skills, and we're not expecting this level of quality and finish, but it's a good start.
Jump start the process: If you have some cursory experience in video editing on iMovie on your Mac, this can probably be basic project, especially using the iMovie video templates. Here's a basic iMovie training video. Here's a more advanced starter video. Ask Mr. Rogers if you have questions about this project.
A Mission Model (no kits)
Students may create a small scale model of the California mission they researched.
Dimensions & materials: We need the mission to fit on a student desk, so please make the base no larger than 17" by 23". Any materials will be fine, as long as the model is made by the student, and is not made of LEGOs or from a kit. NOTE: projects larger than a student desk or made from a kit will receive no credit and be sent home. The project should reflect several hours' worth of work by the student, hand-completed by the student and decorated. If your child is skilled at Minecraft, (s)he may make a mission there as long as a video can be made of the project, describing the content as it's taped (we can't open Minecraft at school). Click here to see some samples of the detail needed for the extra credit.
Content: The model may show the entire mission grounds, or just include the main chapel/church building. Be sure to refer to the rubric your child brought home for more specifics on grading their project.
Oral Presentation: Students who make California mission models should be prepared to give a brief presentation to the class. They will explain how they created their models and what resources they used.
Students may create a model of a period in California history (Look through your textbook for ideas. Present your teacher with your idea before proceeding.)
Dimensions & materials: Your items in your diorama may be made of clay, paper, or other natural materials. It should be small enough to fit on a student desk. A shoebox is a perfect start to your diorama, and guarantees it fits on a student desk. You may use it with all 4 sides in place, or cut one side off, or use the top. NOTE: projects larger than a student desk or made from a kit will receive no credit and be sent home. The project should reflect several hours' worth of work by the student, hand-completed by the student and decorated.
Oral Presentation: Students who make a model of a period in California history should be prepared to give a brief presentation, telling what they have learned and the importance of that period in California history.
Accessories: You may use plastic figures (Playmobil, Lego, etc.) if you can make them fit the diorama time period with their clothing.